Wednesday, March 31, 2021

Hugs & Kisses Hat

Please note:  I make all my hat patterns free of charge to inspire crocheters to make hats for charity, particularly for Hat Not Hate.  Please feel free to redistribute this pattern, so long as you include this note and credit the pattern creator.


This hat uses the hugs & kisses (or Xs and Os) stitch.  This would be a great complement to the Hugs & Kisses Scarf available on Ravelry and Etsy.

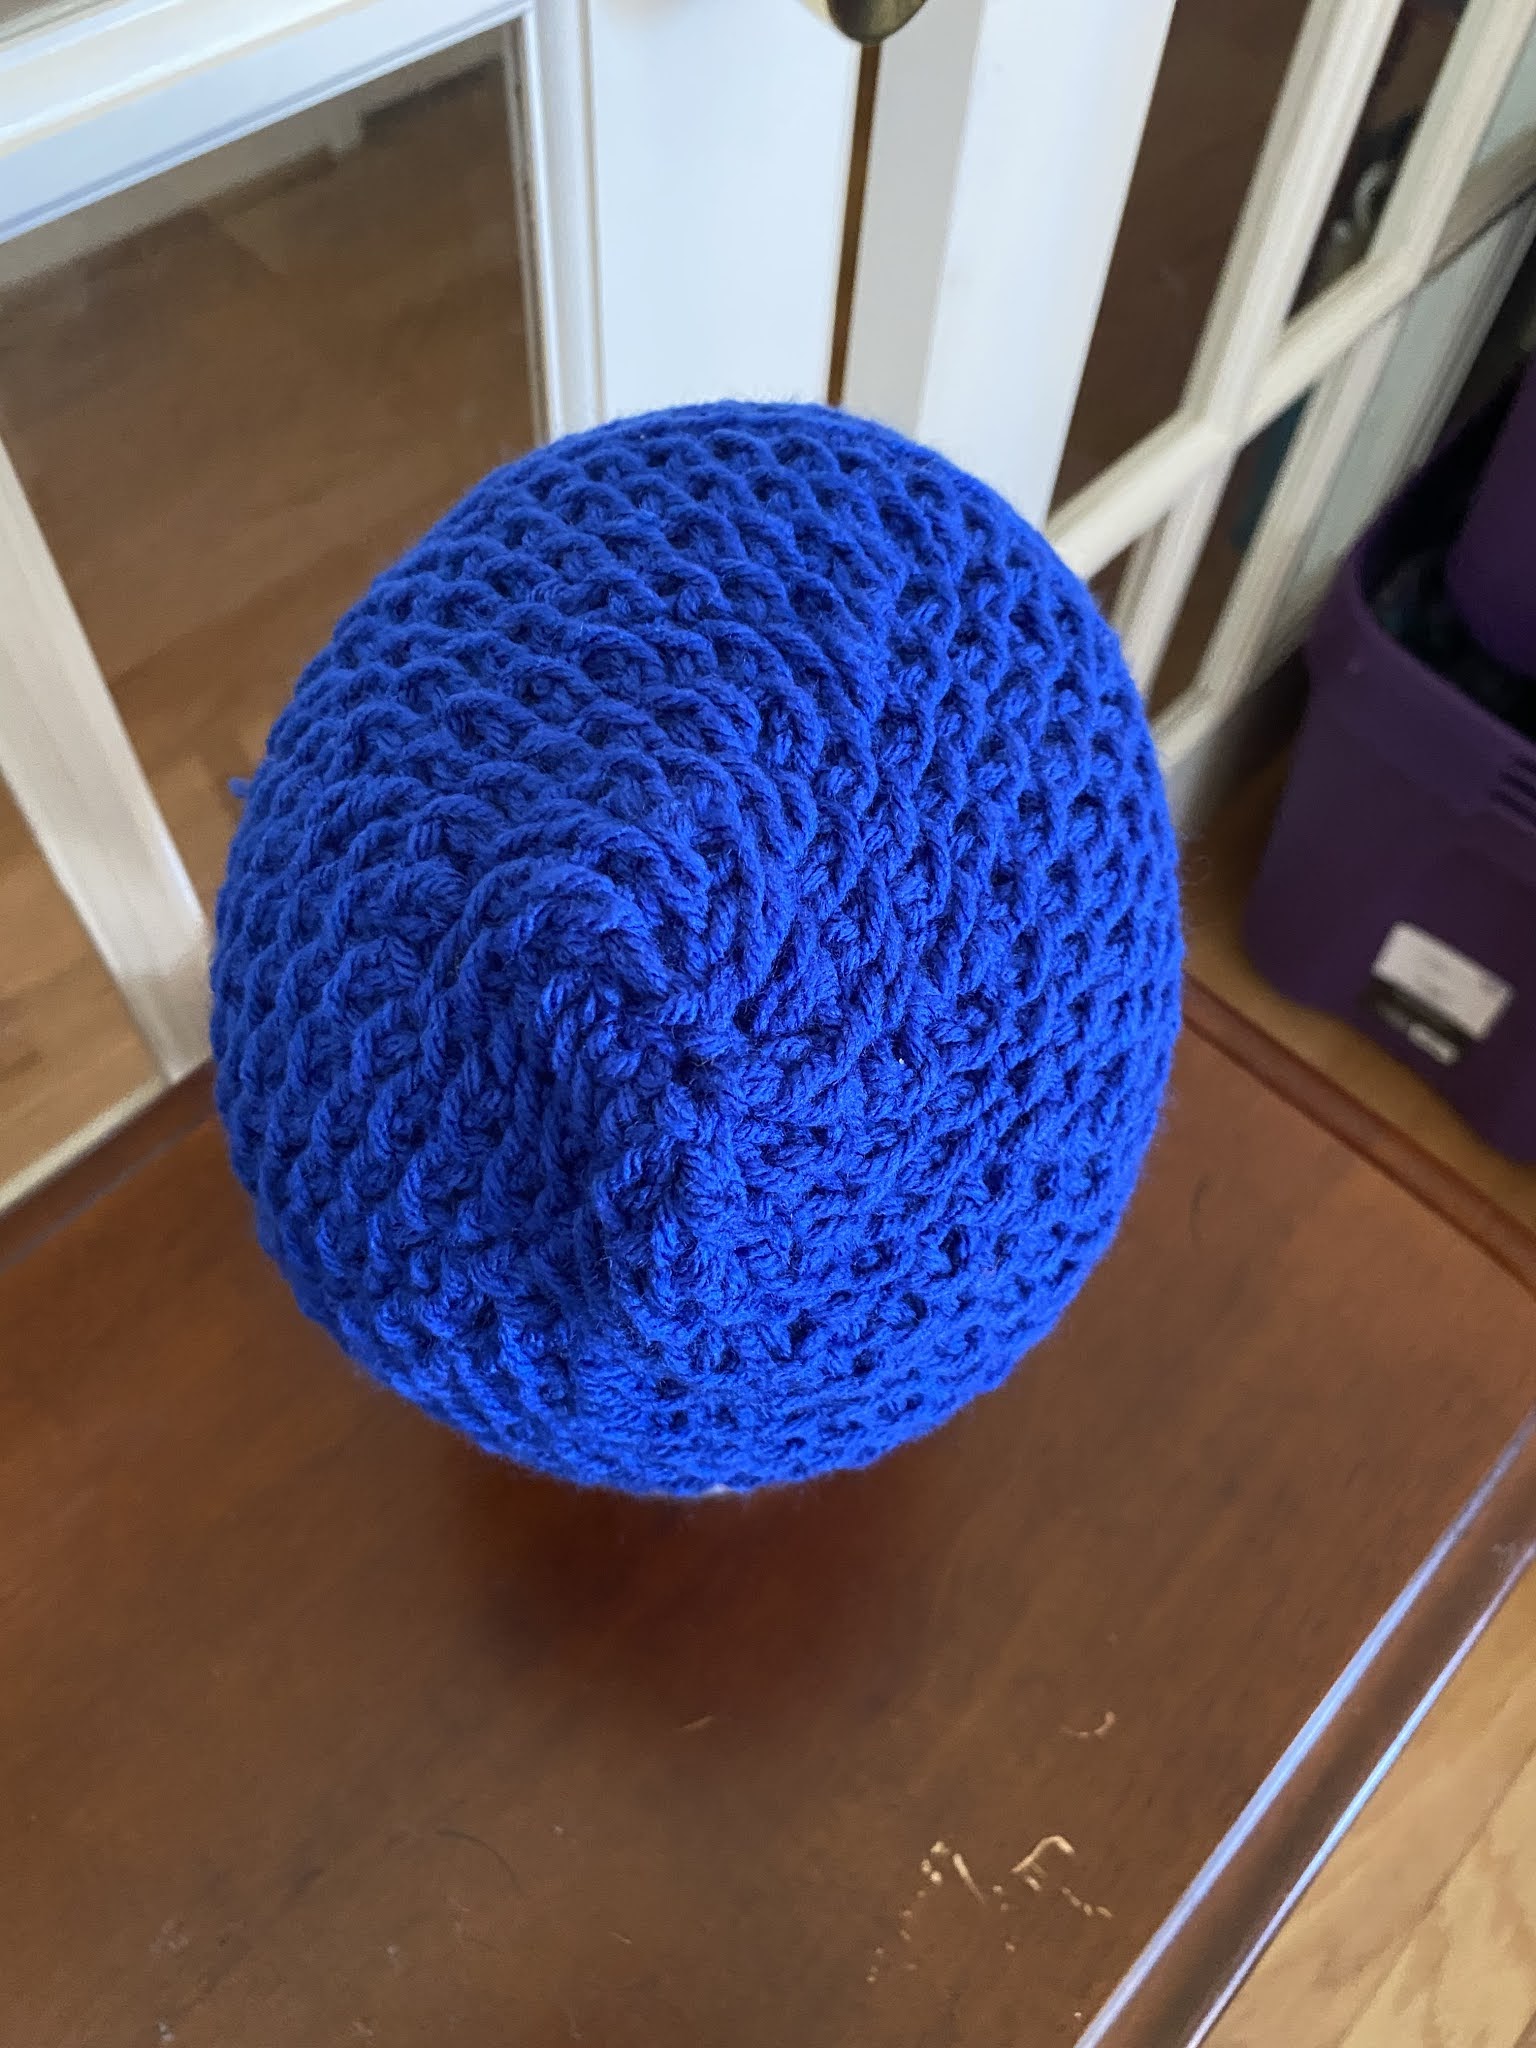
Yarn:  Any worsted weight yarn, such as Lion Brand Pound of Love.  Would also work with a DK weight yarn.

Hook:  5.5 mm/I

Stitches:  Chain (ch), single crochet (SC), back loop single crochet (BLSC), double crochet (DC), slip stitch (SS)

Puff stitch:  There are many types of puff stitches, but this is the type for this pattern—DC4tog ([YO, insert, pull through loop, YO, pull through 2 loops] work bracketed instructions 4 times for a total of 5 loops remaining on the hook; YO, pull through all 5 loops), ch1

Cross stitch:  Skip 1, DC in next st or sp, DC in the skipped st or sp, working behind the DC just worked.


Method:

Create initial disc:

  1. Ch 4, slip stitch to join (SSTJ) into a ring.  Ch 3 (counts as DC here and throughout), work 11 more DCs.  SSTJ in top of ch 3. (12 DC total, including ch 3)
  2. Ch 3, DC in same stitch, 2 DC in each DC from previous round.  SSTJ in top of ch 3. (24 DC total)
  3. Ch 3, 2 DC in next st, [DC in next st, 2 DC in next st] repeat bracketed instructions to end of round.  SSTJ in top of ch 3.  (36 DC total)
  4. Ch 3, DC in next st, 2 DC in next st, [DC in next 2 st, 2 DC in next st] repeat bracketed instructions to end of round.  SSTJ in top of ch 3.  (48 DC total)
  5. Ch 3, DC in next 2 st, 2 DC in next st, [DC in next 3 st, 2 DC in next st] repeat bracketed instructions to end of round.  SSTJ in top of ch 3.  (60 DC total)


Body of hat:

  1. Ch 1, SC in same stitch and every stitch in previous round.  SSTJ in 1st SC (60 SC)
  2. Ch 3, sk 1, puff stitch in next st, cross stitch in next 2 st., [DC in next st, sk 1, puff stitch in next st, cross stitch in next 2 st] repeat bracketed instructions to end of row.  SSTJ in top of ch 3.
  3. Ch 3, cross stitch using spaces on either side of puff stitch below, puff stitch in space between DCs of cross stitch below, [DC in next st, cross stitch using spaces on either side of puff stitch below, puff stitch in space between DCs of cross stitch below] repeat bracketed instructions to end.  SSTJ in top of ch 3.
  4. Ch 3, puff stitch in space between DCs of cross stitch below, cross stitch using spaces on either side of puff stitch below,  [DC in next st, puff stitch in space between DCs of cross stitch below, cross stitch using spaces on either side of puff stitch below repeat bracketed instructions to end.  SSTJ in top of ch 3.
  5. Repeat R. 3 & 4.  Repeat R. 3.
  6. Ch 1.  SC in same st, and in every st below. SSTJ in 1st  SC (60 SC)
  7. Repeat step 6.  (Optional:  Repeat a second time.  Also optional:  make 2nd and 3rd iterations of SC row BLSC.)  Tie off.

Sew in loose ends.  Bribe someone to model it for Instagram pictures.  

Free PDF download here.


Please address any questions or comments to beardedyarndudes@deb8.biz.


Monday, March 29, 2021

Love for sale! Appetizing young love for sale!

Love in the form of patterns.  Here are my links:

Ravelry:  https://www.ravelry.com/stores/david-browning-designs

Etsy:  https://www.etsy.com/shop/BeardedYarnDudes

Patreon:  https://www.patreon.com/beardedyarndudes 

And if you don't know my YouTube channel, here is that link:  https://www.youtube.com/c/DavidBrowningBYD

Take a look at my links and my videos.  I can make it worth your while!  **batting eyes coyly**

Thursday, March 25, 2021

Your Favorite Tools

In January I did a live stream on my YouTube channel that was all about favorite tools for crochet and yarn crafts.  Here is the video itself:


I began by discussing crochet hooks and the difference between tapered hooks and in-line hooks.  I shared some of my favorites.  At that point I had just received my only Furls hooks as a gift, and I will say that I have enjoyed using it ever since. Furls hooks run a little dear in price, and on my budget I have not been able to purchase more for myself, but when I win the lottery I will definitely think about it. Right after the Lexus and the grand piano.  (Here is my affiliate link to Furls, if you are leaning toward buying some for yourself or for a gift.) I will state that the that plastic hooks with the clear acrylic handle that you can light up remains among my favorites. I just like the way they work with my grip and fit in my hand.

We did talk about Tunisian hooks.  I don't have a preference there, because my experience with Tunisian crochet has not been uniformly happy.  I have gotten more use--and more joy--from my Tunisian hooks stirring my drinks than in actually creating projects.  I had a set of teak Tunisian hooks on long flexible cords that I included in a recent giveaway.  (Immediately thereafter I conceived of a fun design that mixes traditional and Tunisian crochet, but I did still have some hooks left--remember the drinks!--and was able to do a prototype.  And I have a trusted confidant testing that full pattern.)

We talked about storage for tools, for yarn, for patterns.  Frankly, I covet the kind of space some yarn YouTubers (YarnTubers?) have. Many of them sit in front of a very impressive yarn wall, with organized shelving to easily view and choose the right yarn for the next project.  I don't have that kind of space, and although I do enough yarn to last me through the Apocalypse, I don't have the amount I see on some of those yarn walls.  As far as storing tools, since I crochet in pretty much the same place every day, I am happy keeping my hooks in a pencil can and a mug.  I have recently seen people using pencil/paintbrush holders like we might have seen in art class in school, where there is one hole for each pencil, paintbrush, or hook.  Apparently they can be found for very little at stores like Dollar Tree.  I use a pencil case from my local office supply store--the school supply/stationery section of any big discount store is also a good source--for stitch markers and tapestry hooks.  As long as I remember to zip it shut every time, I'm golden.  (Also, I don't need fancy stitch markers. I'm happy with cheap plastic stitch markers that come 5 gazillion for $1, or something like that.)  Regarding pattern storage, for those patterns I print out, I have a plastic file box that is probably 12 inches deep containing printed patterns organized by project type.  I also have a tremendous number of patterns that I have downloaded but never printed, organized in file folders on my computer.  And I back up my computer often.  (I recommend you back up often, as well.  You can buy an external drive for not much money, and both Mac and Windows OSs have built-in backup utilities.  The time will come when you will be glad you did!)


One amazing tool that deserves its own paragraph is a thumb drive that has a jack I can plug into my iPhone (11, I believe) and another I can plug into my computer's USB port.  Although I do my YouTube live streams using the FaceTime camera built into my computer, my pre-recorded videos are all done with my phone.  I even edit them with iMovie on my phone.  So this thumb drive has proved invaluable in transferring movie files from phone to computer.  Devices like this are available at electronic stores, and even at electronic sections of big department stores.  I bought the one I use, which has a 64 GB capacity and comes with an app for transferring the files from phone to drive, from Amazon at a quite reasonable price.  (I lost my Amazon affiliate link because I had absolutely no sales, but I encourage you to use other YarnTubers' affiliate links to begin any Amazon shopping session.)

Software tools.  I mention that I use iMovie on my phone.  I usually don't edit my live streams, but I use iMovie to edit out yawns and ums and ers from my recorded videos on my phone.  I can insert graphic text cards that I create in TextPicFree, which you might imagine from the name is a free app.  I can also insert photos that are stored on my phone.  I almost always end with a cute Bitmoji image.  If I feel really ambitious, I will insert some royalty-free music into the introductory images of my videos.

What about you?  What are your favorite tools?  

Wednesday, March 24, 2021

WIP Wednesday


From Queer Joe's Knitting Blog

One of my favorite crochet friends recent spoke of being overwhelmed with everything she wanted to accomplish, and feeling paralyzed by the sheer mountain of projects she had planned. Following is what I wrote to her: 

I know what it's like to be overwhelmed like you describe. I used to be a project manager, and learned a few tips:

    1. Make a list of open projects.
    2. Prioritize them in terms of urgency of completion or perceived due date (of the project, not any babies involved!).
    3. Starting with the most urgent projects, break them down into components or stages and create manageable and attainable goals for each day and/or week. It's OK if some of the goals have to move to the next day/week, but if it happens often you might be making your goals too ambitious. As you finish projects, add more projects from the current project list to the goals within your grasp.
    4. (This is the hardest part.) Try to resist starting new projects while doing this. Only use new projects as a reward for achieving a goal or a set of goals. But any new project goes into the same project pipeline.

I'm hardly a paragon of virtue or structure, and I can't say I follow these guidelines perfectly. But I hope the suggestions might be of some help.


And remember, it's progress, not perfection!


Tuesday, March 23, 2021

Accidental Hat Design


Please note:  I make all my hat patterns free of charge to inspire crocheters to make hats for charity, particularly for Hat Not Hate.  Please feel free to redistribute this pattern, so long as you include this note.

Bottom-up ribbed hat

While working on a hat designed by another, I added more and more variation as I crocheted.  I soon realized I liked my variations more than the pattern I was working with, and voila! I had a hat of my own design! This design borrows only the bottom/hem start from the original pattern.  I’ve seen many top-down ribbed hat patterns, but this is the first bottom-up ribbed hat pattern I’ve seen.

Yarn:  Worsted (4) weight, such as Wal-Mart Mainstay or Caron One Pound; use other yarns if desired. 

This pattern works well with solids and variegated colors.  I haven’t tested with self-striping yarn, but I suspect the user would be better off manually controlling color in order to produce stripes than using self-striping yarns.

Hook:  J (6mm); if other yarns are used, size up at least 1 mm from the recommended hook specified by the yarn manufacturer

Special stitches or stitch patterns:

It is assumed the reader is familiar with front-post double crochet (FPDC)

For decreases (FPdec), rather than using the tradition DC2tog, simply perform a FPDC using two front posts from previous row.

SSTJ = slip stitch to join

[: :] = repeat sign in music.  Repeat what is within the brackets the number of times indicated.

Method:

All measurements and counts are given in ranges. User must determine correct measurement/count for the intended end user.  Hat can be either tight-fitting beanie or slouch hat, depending on number of rounds worked.

Measure circumference of a hat that fits the head you intend to cover.  (Or the head itself.)  Usually this is 20-21 inches, but there is no wrong answer.

  1. Create a chain as long as the circumference you measured, usually 58-62 ch.  Ensuring the chain is not twisted, slip stitch to join (SSTJ); ch1
  2. Single crochet (SC) in every chain; SSTJ, ch1*
  3. Double crochet in every SC; SSTJ, ch1
  4. FPDC in every DC; SSTJ, ch1  [Hint:  For any FPDC row, especially the first, ensure you have drawn enough yarn through before you complete the stitch. This is the best way to avoid curling of the fabric.]
  5. Repeat step 4 until work measures 5-6 inches or until desire pre-decrease height is achieved..
  6. [:FPDC in next (or first) 4 st., FPdec in next 2 st.:] repeat until end, FPDC any st. that remain; SSTJ, ch1 OR see alternative procedure below.
  7. FPDC in every st.; SSTJ, ch1
  8. Repeat step 7 until work measure 7-8 inches or other desired height; SSTJ, ch1
  9. FPdec in every 2 st.; if one FPDC remains, FPDC in that st.; SSTJ, ch1
  10. Repeat step 9, SSTJ.   Tie off, leaving tail long enough for sewing top together.
  11. Using tapestry/yarn needle and the long tail left from step 10, st. in top of every stitch.  Pull together gently to avoid breaking yarn.
  12. Make additional stitches ad lib. to secure yarn.  It is useful to do steps 11 and 12 from the inside of the hat.

Optional steps 6ff for a long, slow decrease:

  1. [:FPDC 10 st., FPdec in next 2 st.:] repeat until end, FPDC any st. that remain; SSTJ, ch1
  2. [:FPDC 9 st., FPdec in next 2 st.:] repeat until end, FPDC any st. that remain; SSTJ, ch1
  3. [:FPDC 8 st., FPdec in next 2 st.:] repeat until end, FPDC any st. that remain; SSTJ, ch1
  4. [:FPDC 7 st., FPdec in next 2 st.:] repeat until end, FPDC any st. that remain; SSTJ, ch1
  5. [:FPDC 6 st., FPdec in next 2 st.:] repeat until end, FPDC any st. that remain; SSTJ, ch1
  6. [:FPDC 4 st., FPdec in next 2 st.:] repeat until end, FPDC any st. that remain; SSTJ, ch1
  7. [:FPDC 2 st., FPdec in next 2 st.:] repeat until end, FPDC any st. that remain; SSTJ, ch1
  8. [:FPdec in next 2 st.:] repeat until end, FPDC any st. that remain; SSTJ, tie off
  9. Using tapestry/yarn needle and the long tail left from step 8, st. in top of every stitch.  Pull together gently to avoid breaking yarn.
  10. Make additional stitches ad lib. to secure yarn.  \


Sew in loose ends.  Optional:  Add a pom-pom, if desired.

Bribe someone to model the hat for Instagram pictures.  


*It is possible to start with the round of DC and add the round of SC after completing the hat, but the only reason I can imagine for doing this is to use a different yarn. Even that could be accomplished by manually changing the yarn.


Please address any questions or comments to beardedyarndudes@deb8.biz.


David's Hat

 Imported from my old blog, Goods and Chattels:


Please note:  I make all my hat patterns free of charge to inspire crocheters to make hats for charity, particularly for Hat Not Hate.  Please feel free to redistribute this pattern, so long as you include this note.


I named this hat after my friend David, who lives in Dallas, which has had very bad winter weather lately, and who also travels frequently to Germany.  

Yarn:  Any worsted weight yarn.  I tend to favor budget yarns like Walmart's Mainstay brand or Hobby Lobby's Crafter's Secret.  I've never made my love for Lion Brand yarns a secret!

Hook:  H (5 mm) or I (5.5 mm)


Stitches:

Expanded half double crochet (EHDC):  YO, insert, pull through loop, YO, pull through 1 loop on hook, YO, pull through remaining 3 loops on hook

Linked double crochet (LDC):  Starting from previous DC, do not YO, but rather insert through lowest loop of DC, insert through stitch being worked, pull through loop, YO, pull through 2 loops on hook, YO, pull remaining through 2 loops. on hook

Linked double crochet 2 together (LDC2tog):  Starting from previous DC, do not YO, insert through lowest loop of DC, insert through 1st stitch being worked, pull through loop, YO, pull through 2 loops on hook, insert though lowest loop just worked, insert through next stitch, YO, pull through 2 loops on hook, YO, pull through remaining 3 loops on hook

(Linked DC is very well demonstrated in this video by Bitchin' Stitches:  https://youtu.be/38ieabUwGvc )

SSTJ:  slip stitch to join


Method:

ch 7 (9)

  1. SC in 2nd ch from hook and every ch to the end (6/8)
  2. Ch 1, turn;  using back loop only, SC in every stitch
  3. Repeat step 2 until desired length is reached.  This should almost reach around the head of the wearer, so that by stretching the two ends  meet.  (Exact row count matters less than fit of the band.)  Do not tie off.
  4. Join the two ends of the band together with SC or other method, ch1, turn work so that the edge of the band is accessible
  5. SC in the side of every SC row in the band, SSTJ, ch1, turn work so that join is on the inside
  6. EHDC in every SC, SSTJ, ch 1
  7. EHDC in every EHDC, SSTJ, ch1
  8. SC in every EHDC, SSTJ, ch1
  9. DC in 1st st, LDC in next 9 st, LDC2tog in next 2 st, [:LDC in next 10 st, LDC2tog in next 2 st:] repeat to end, LDC in any remaining st, SSTJ, ch1
  10. DC in 1st st, LDC in next 8 st, LDC2tog in next 2 st, [:LDC in next 9 st, LDC2tog in next 2 st:] repeat to end, LDC in any remaining st, SSTJ, ch1
  11. DC in 1st st, LDC in next 7 st, LDC2tog in next 2 st, [:LDC in next 8 st, LDC2tog in next 2 st:] repeat to end, LDC in any remaining st, SSTJ, ch1
  12. DC in 1st st, LDC in next 6 st, LDC2tog in next 2 st, [:LDC in next 7 st, LDC2tog in next 2 st:] repeat to end, LDC in any remaining st, SSTJ, ch1
  13. DC in 1st st, LDC in next 5 st, LDC2tog in next 2 st, [:LDC in next 6 st, LDC2tog in next 2 st:] repeat to end, LDC in any remaining st, SSTJ, ch1
  14. DC in 1st st, LDC in next 3 st, LDC2tog in next 2 st, [:LDC in next 4 st, LDC2tog in next 2 st:] repeat to end, LDC in any remaining st, SSTJ, ch1
  15. DC in 1st st, LDC in next st, LDC2tog in next 2 st, [:LDC in next 2 st, LDC2tog in next 2 st:] repeat to end, LDC in any remaining st, SSTJ, ch1
  16. DC in 1st st, [:LDC2tog in next 2 st:] repeat to end, LDC in any remaining st, SSTJ, ch1, tie off
  17. Using loose end from step 16, sew in every st. to close up top
  18. Use additional stitches to secure end
  19. Bribe someone to pose for Instagram pictures